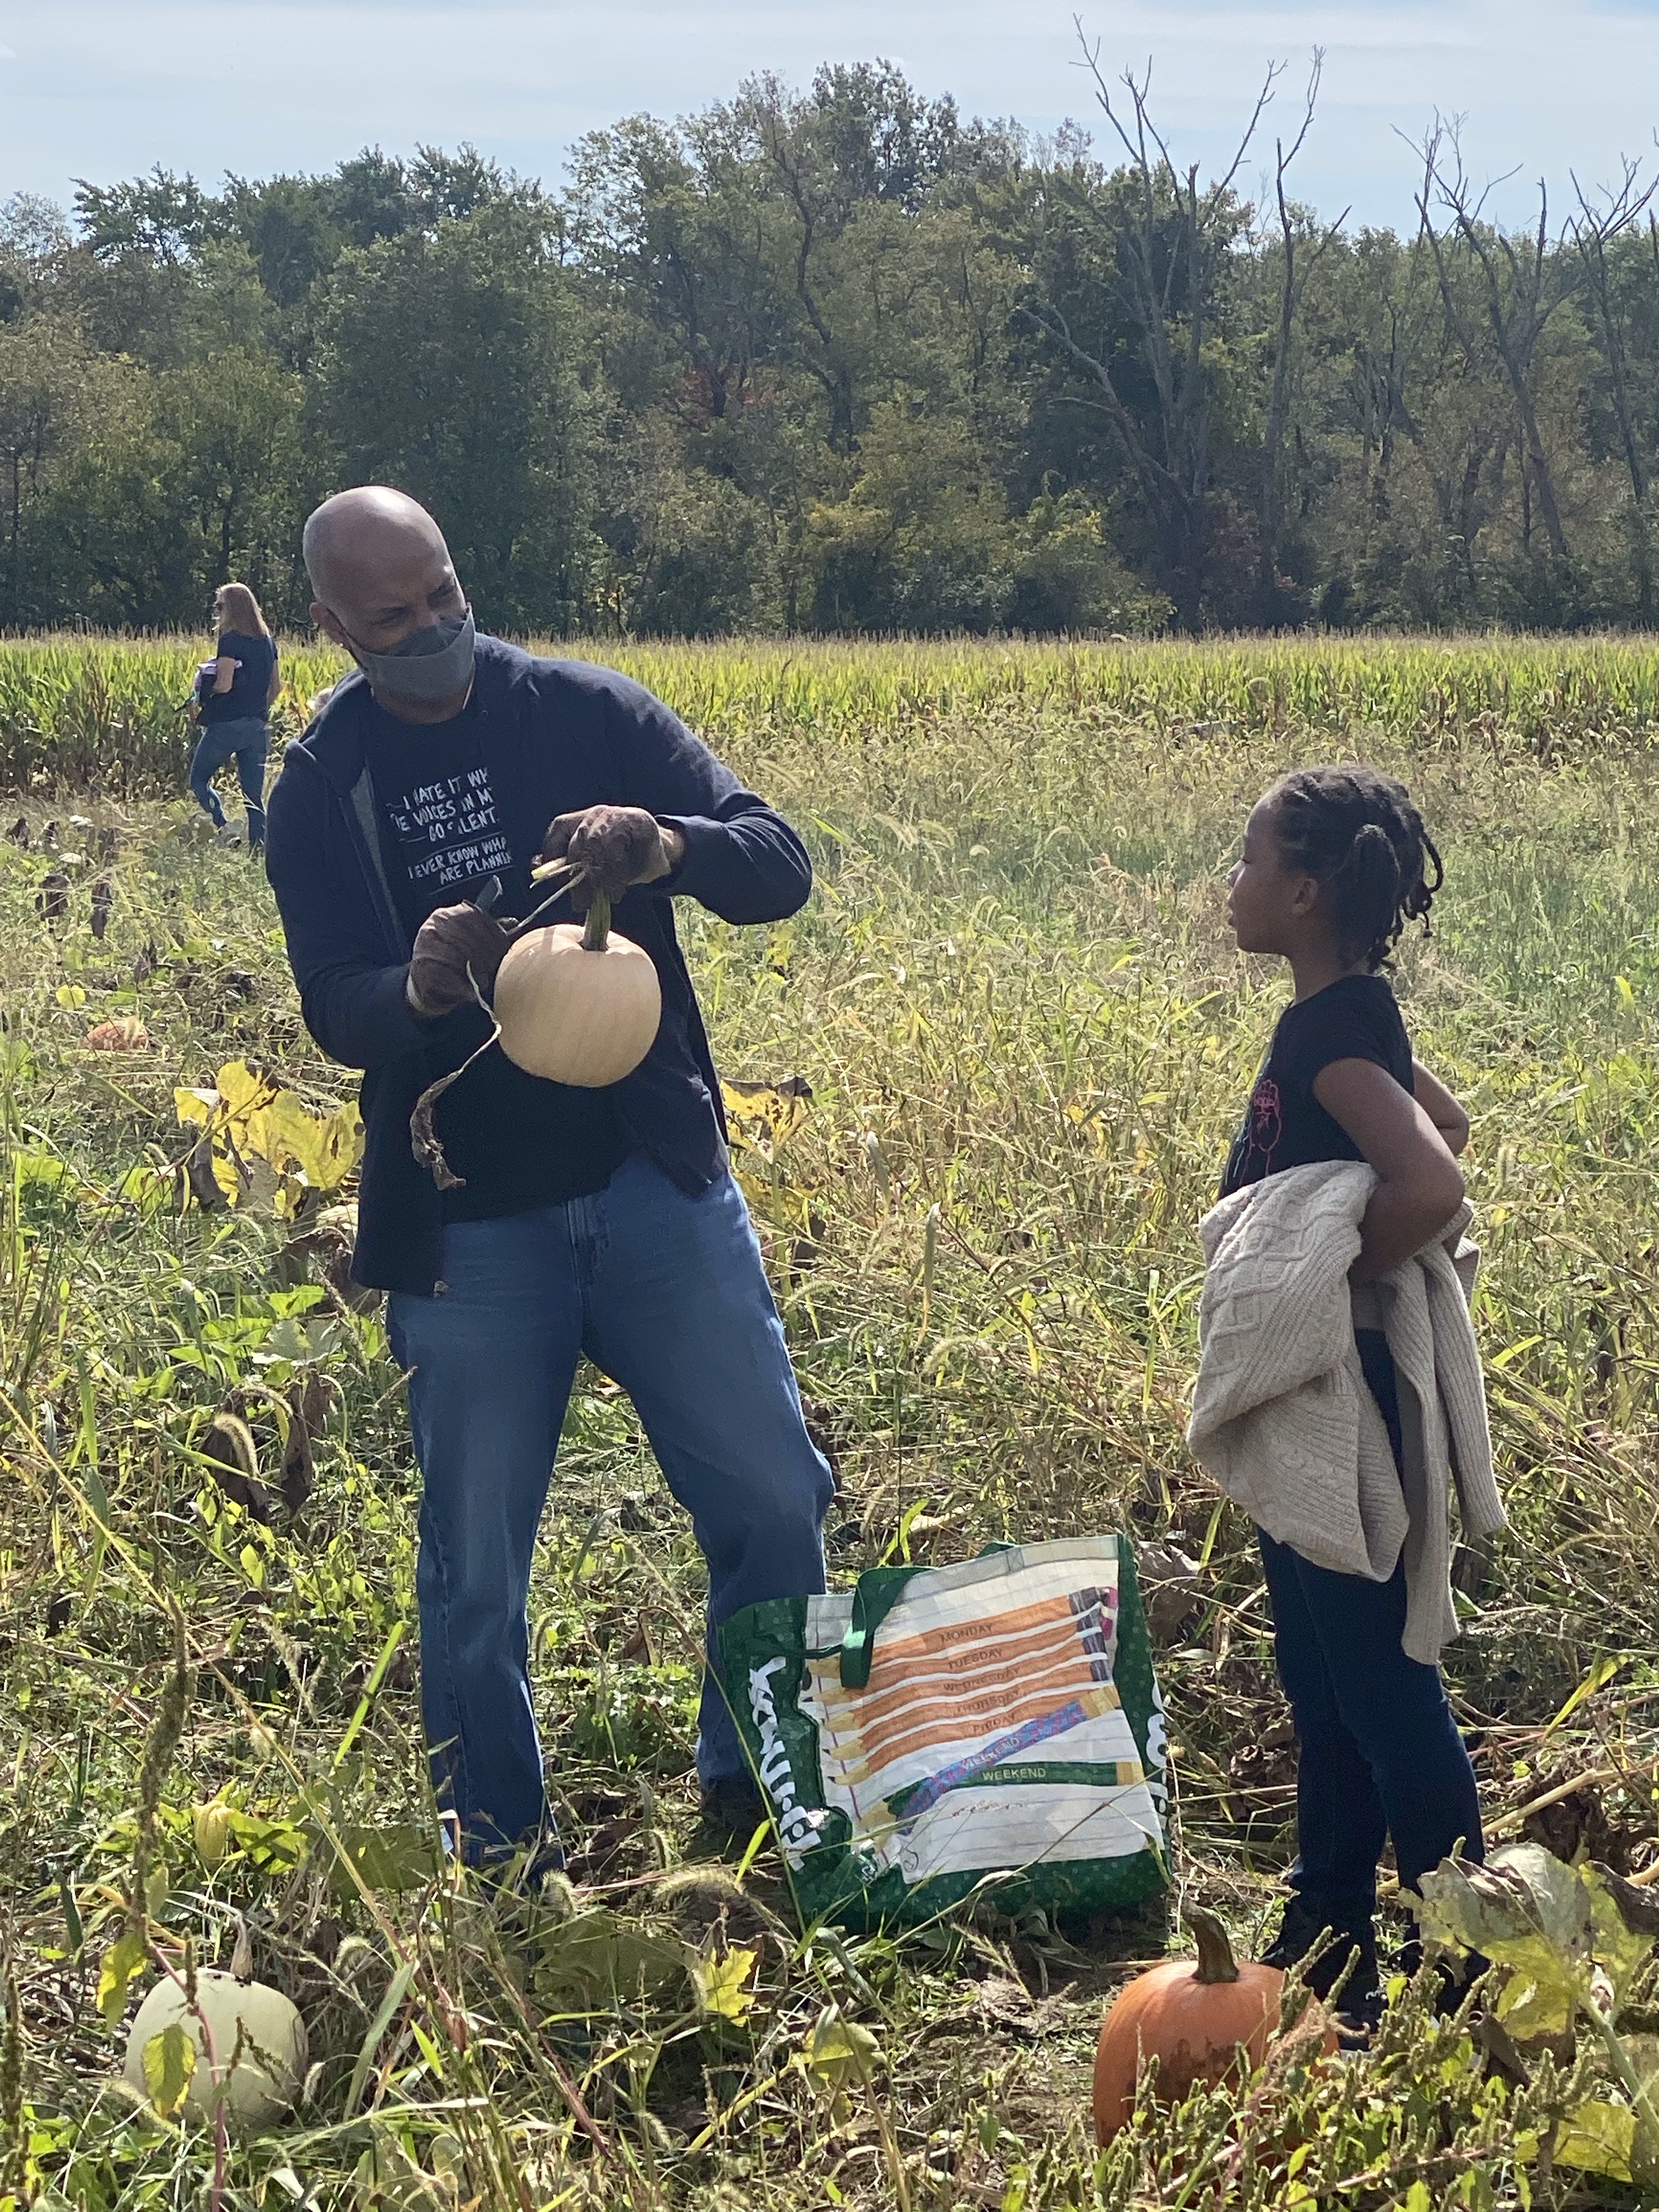
Making a Super Grover Pumpkin with Quinn
One of my first entries this week was about having autumn fun with my two year old daughter involved going to a pumpkin patch. She had a great time, happily selected her pumpkin and probably had no idea that we would be decorating it. But when I asked, she knew exactly what she wanted: a Grover pumpkin. Some months back, I did a post on how Quinn likes Elmo but absolutely loves Grover from Sesame Street. So of course, this was who came to mind when I asked her how she wanted to decorate her pumpkin. I was excited to do this project with her because it hadn’t decorated a pumpkin since I was a child myself, but I had to give some thought about how we were going to do this special project.
First, we needed the materials for the basic Grover. They are as follows:
- Blue acrylic paint and black acrylic paint (I purchased them from AC Moore using a 50 percent off coupon)
- A pink sponge clown nose to resemble Grover’s (Since it’s near Halloween, this was easy to find at Party City for about a dollar)
- Jiggly eyes (I purchased these from AC Moore but later saw them at the local Dollar Tree where I would have saved a dollar off of the total)
- A red pipe cleaner for the mouth (I actually had one available and didn’t need to purchase it)
- Cardboard to make Grover’s body (I used a box I had lying around from an online purchase)
- A Sharpee for tracing body parts
- Scissors to cut the body
- Hot glue and hot glue gun to adhere the eyes, nose, and mouth
- Paint sponges brushes and a cup to hold the paint (I had some from a previous project)
- A ruler or tape measure
When Quinn saw the progress we were making, she asked if we could make Super Grover. So Super Grover the pumpkin became. I just needed to figure out how to do it and what additional materials I would need.
- Card stock or thick scrap book paper (I got this at AC Moore with a coupon too, so I only paid 25 cents.)
- Aluminum Foil (I had this available)
- One gray felt sheet, one red felt sheet and one yellow felt sheet (Purchased at AC Moore)
- Marker for tracing the red letter G and the yellow lightening bolt (I used a fine point Sharpee that I already had)
- About ten paper fasteners (I actually had from a project years prior)
- Regular glue that dries clear (I already have tons)
Between work, chores and other activities with Quinn, making our pumpkin into Super Grover certainly was not a one day project. It spanned over two weeks: one week for painting the pumpkin and adhering the facial features and the second week for transforming Grover into Super Grover and giving him a body, G, lightening bolt and cape.
Something that I’ve always been good at is looking at a picture or sample and recreating it. Since Quinn has both Grover and Super Grover, I was able to use them as models for doing the pumpkin. Here are the steps I followed, but this was my first time, so feel free to modify them if you want to try to create your own Grover:
- Using the sponge brushes, Quinn and I painted the entire pumpkin, minus part of the bottom because the top had to dry first. Though the paint dries within an hour, I waited a few hours and then retouched any areas where orange was still showing. After the pumpkin dried over night, we did one more coat and then made sure to paint any parts on the bottom that were still orange.
- After the pumpkin was blue, I used Grover as my model and then measured the size of my pumpkin to determine how far apart the eyes, nose and mouth should be from one another. Then, I marked the locations and painted on the black mouth which I let dry for a few hours and then added a couple of more coats.
- After the pumpkin was blue with the black mouth, I used my hot glue gun and glue to adhere the jiggly eyes, pink sponge nose and the red pipe cleaner mouth.
- Voila, you have Grover!
- To turn Grover into Super Grover, I looked at the helmet of Quinn’s Super Grover doll to get an idea of how it was constructed. I then stumbled across a Super Grover helmet template from Sesame Street’s web site which was very helpful in creating the helmet. Once I saw this, I was able to determine how many sections would be needed. I did five: one for the face mask, two for the temples that wrap around the head, one for the little piece on the front of the face mask and one for to cover the circumference of the head, which I measured with measuring tape.
- After figuring out the size of the pieces I would need, I traced them out using the scrap book paper (with the exception of the piece to cover the circumference of the head which was gray felt and left for the last part), cut them but left a little extra paper for the two pieces to wrap around the temple so that I could double check my measurements by putting it around the actual pumpkin. Then, I covered them with aluminum foil and used a little glue to make sure the foil stayed on the paper. The paper fasteners were used to hold the helmet together and to add the felt which would cover the head. Of course, we put the helmet on Super Grover the Pumpkin’s head to make sure it would fit, and it did!
- Then it was time to make Super Grover’s body. Once more, I looked at the model and viewed a few pictures online to get an idea of the body proportions and then used cardboard from an old package box and a Sharpee to draw the torso, arms and legs with some of Quinn’s help (I actually used one piece for the legs but cut a triangular shape in between so that presence of the two legs were obvious. Once I cut out the body parts, I used more of my trusty paper fasteners to connect the arms and legs to the torso.
- My daughter actually did most of the painting with the body of Super Grover with some of my help in going over any areas she missed. We then let the one side dry for a few hours and then did the other side.
- While Super Grover’s body was drying, we got to work on his red letter G, yellow lightening bolt and red cape using the felt sheets. This also involved looking at the model Grover, measuring the torso of Super Grover and then tracing out the appropriate pieces.
- Once our trusty super hero was all dry, about a few hours later, we were able to add the lightening bolt and G with a little regular glue and then the red cape with a little glue.

Quinn and her Super Grover and Super Grover the Pumpkin
We just finished earlier today, and Quinn was so excited asked, “Can we take a picture with my two Super Grovers?” Of course, I was happy to oblige. Yes, this project was quite involved, but it was a wonderful opportunity to do something fun and special with my little girl. There’s actually a decorative contest at my job next week, and I am thinking that Quinn and I should enter it. How awesome would it be for our Super Grover to win!
All the best,
Tanya